This article is a strategy page, where players may share their ideas on how to optimize the subject in question. Feel free to add new strategies on this page! However, make sure the content you add is clearly formatted, unambiguous, and informative.
Note for all contributors: If you're planning to add a new strategy section about your specific strategy, please make sure to add version numbers and dates to each new section, especially for the latest games.
What is with all those "TBA" marks? Temporary fillers such as "TBA", "???", and filler images are used for content that is yet to be added, for layout purposes. Please help by replacing them with useful content, if you can.
The Tack Zone
The Tack Shooter is a short-ranged but shoots multiple projectiles per shot, making it ideal around sharp corners and bends. Tack Shooters excel as a cheap but cost-effective short-ranged option. However, Tack Shooters lack viable camo detection, they have poor range, and specializations for pierce vs single-target is limited by path. If you can find a way to overwhelm a Tack Shooter user, alongside other towers that offset the Tack's weaknesses, there is a good chance of winning battles easier.
Tack Shooters are effective along tight bends, utilizing most, if not all, tacks to its highest potential.
Tack Shooters often serve as a primary DPS. In the early-game and mid-game, they are mostly for popping either spaced or grouped bloons. In the late-game, it is mostly used as single-target DPS against MOAB-class bloons.
Most loadouts that bring Tack Shooter tend to come with other towers that can empower Tack Shooters, such as Gwen and Alch.
Attack Speed
The Tack Shooter offers a moderate-to-fast attack speed. With upgrades, it becomes a fairly fast-attacking tower, especially with the Upper Path 3 upgrades.
Abilities for the Tack Shooter are pretty fast and comes with fast cooldowns, but duration is somewhat limited.
Damage
Tack Shooters themselves don't deal much damage per projectile, but the sheer numbers of projectiles deal a lot of damage to compensate. An exception to this is Ring of Fire, which in itself shoots singular rings of flame that deal big damage to regular bloons.
Pierce
Tack Shooters have low pierce at base and its lower-tier upgrades. However, Path 2 offers a rather cost-effective pierce bonuses, starting from Super Range Tacks.
Blade Shooters can solo early grouped rushes and have enough pierce to puncture through a reasonably sized rush.
Blade Maelstrom's high pierce makes it ideal as an emergency ditch against grouped regular bloon rushes.
Range
Tack Shooters have a low range, among the lowest of all towers. Expect a Tack user to place Tack Shooters around bends and corners.
Blade Maelstrom's ability can temporarily allow the Tack Shooter to cover most of the screen with its blades.
Support
Tack Shooters do not buff other towers, rather supporting other towers with spray damage.
In terms of synergy, the majority of Tack Shooter upgrades work best with towers that increase its pierce and other stats, especially Alch buffs and Gwen's Heat It Up.
Power
Most Tack Shooters spray many projectiles per shot, inflicting a lot of damage, making them monstrous with buffs such as Alch buffs and Gwen's Heat It Up.
Overall, a Tack Shooter is a powerful tower for various stages of the game, having a variety of upgrades suited for each stage of the game.
Most Tack Shooters have a specialization at particular types of bloons. Upper Path 1 mostly focuses on dealing high damage, Upper Path 2 is pierce-oriented, and Upper Path 3 is strong against spaced bloons and MOAB-class bloons.
This is most evident in their T3 upgrades; Tack Sprayers are more effective against spaced bloons, but Blade Shooters are more effective against grouped bloons, but only Hot Shots has lead-popping and a reasonable competitor to the Tack Sprayer.
Faster Shooting increases attack speed of the Tack Shooter by a fair amount for a fairly inexpensive cost, mostly empowering already upgraded Tack Shooters. Keep up the pressure to force the opponent to further upgrade, causing them to fall behind in performance.
Even Faster Shooting offers the maximum bonus attack speed for most Tack upgrades but is very expensive. The opponent will need to invest a lot before optimizing their higher-tier Tack Shooters, particularly for their Tier 3 Tacks, to which they would likely sway towards.
If the opponent does end up getting Even Faster Shooting, stay on the passive side by focusing on eco until there is another opportunity to take the offensive.
Hot Shots is the only Tier 3 Tack Shooter option against Leads and makes for a fair competitor to the Tack Sprayer thanks to its bonus damage per tack. Like Tack Sprayer, Hot Shots is weak to grouped rushes unless supported by other towers.
Players with Ring of Fire unlocked will generally be almost unstoppable against any regular bloon rush other than Purples and Ceramics, although certain maps may enable Rings of Fire to work even against Ceramics.
If the opponent has a Ring of Fire, send Purples alongside other rushes. Otherwise, wait for a different round to take the aggressive.
While very expensive to afford, an Inferno Ring is able to dish out lots of damage to strong and weak blimps alike, making it very difficult to beat unless all-out rushing.
Super Range Tacks gives Tack Shooters with extra pierce, making them slightly better against grouped bloons.
Super Range Tacks in itself is mostly used in the early-game upon the saveup for Blade Shooter. Keeping up a massive grouped bloon send should push the player back until they get a more expensive upgrade such as the aforementioned Blade Shooter.
Blade Shooter offers a substantial pierce boost, shredding early grouped waves very efficiently. Against this, wait till later rounds to send stronger grouped waves.
Spaced waves may be a sensible option against Blade Shooter users, with Spaced Whites being a decent choice, especially for a non-optimally positioned Blade Shooter.
Players with the Blade Maelstrom out are likely going to use it to bail out against grouped rushes or to defend against the Ceramics underneath popped blimps.
Blade Maelstrom has no initial cooldown, making it possible for the opponent to just use it immediately when they see a rush sent by you. Knowing this, it is possible to wear out the opponent's cash more than you spend your rushes, especially with the bonus eco per send offseting the slight loss in your own cash.
Stack rushes instead of focusing on one particular rush. Mixing in Leads and Grouped Camo Bloons can potentially make the opponent less aware of Maelstrom's weaknesses to either bloon type. Add stacked rushes as is applicable.
Some players like to hide their third tower, using Maelstrom as a secret weapon. If they have not shared their third tower yet, send a reasonably sized rush and hope that the opponent quickly takes out a Maelstrom. If they do, take measures against a Maelstrom user.
Super Maelstrom has an even longer duration, more blades, and pops any bloon type except Camo (unless supported by a Radar Scanner). It won't be easy to let Ceramics underneath blimp sends to kill the opponent.
A very cheap upgrade that increases the number of tacks per shot, which bolsters the density of tacks. Expect the opponent to follow up with the Even More Tacks upgrade.
With this in mind, keeping up a solid rush during the early-game may be a good idea, which can potentially overwhelm the opponent, forcing them to choose other options or risk losing lives.
Tack Sprayer offers a high amount of projectiles per shot while also giving a small attack speed boost on top. Spaced rushes won't be so easy to overwhelm Tack Sprayer users; grouped rushes work better against Tack Sprayer users.
Overdrive's incredible attack speed and slightly more pierce makes them ideal at shredding MOAB-class bloons, and it packs a punch against weaker grouped sends. It is relentless against bloon waves when paired with buffs such as Alch buffs and Monkey Villages.
Without appropriate supports, an Overdrive is weak to Leads and Camos. If, however, you see that those aspects are well-covered, simply act passively until the appropriate rounds.
A raw Overdrive won't be enough to beat bloons underneath popped blimps.
Watch for other towers paired with Overdrive; it is very sensitive to synergies. Countering the synergies of Overdrive is more key than countering a raw Overdirve.
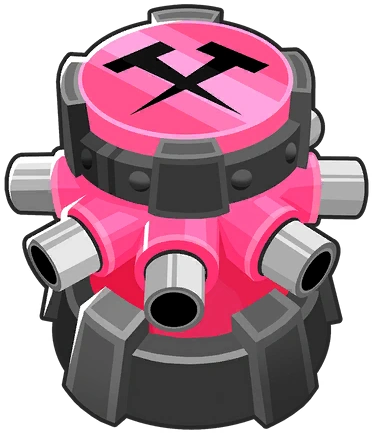
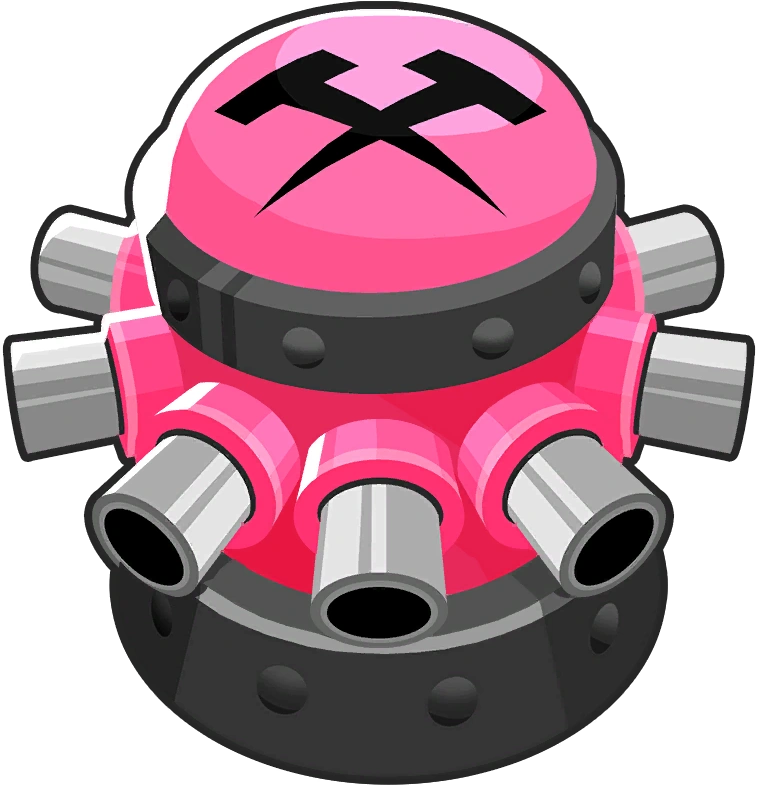
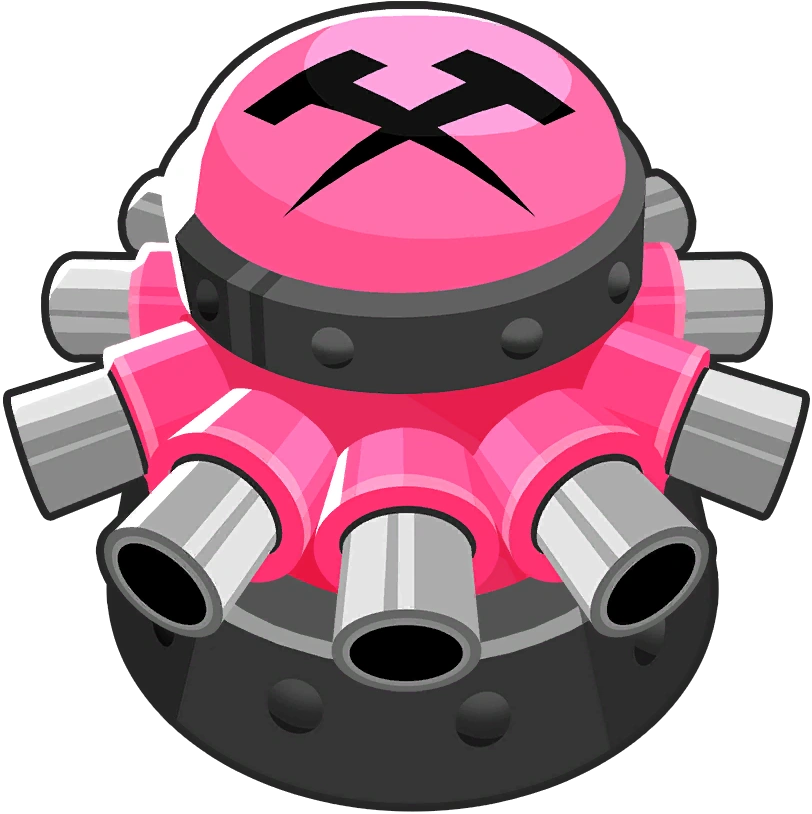
The Tack Zone is generally the first choice of Tier 5 for a Tack user, given its incredible MOAB-class popping power and reasonable pierce. Most opponents like to show off their Tack Zone either to intimidate or simply to add a significant increase in MOAB-class popping power.
An improperly placed Tack Zone won't be enough to counter both BADs and DDTs, especially without support from other towers.
Crosspath-specific[]
WIP This section or article is currently a work in progress (WIP), and therefore under construction. Please bear with us while our editors improve the page.
Crosspath
Tack Shooter countermeasures
2-0-4
The bread and butter of Overdrive users. You will see this flavor of Overdrive almost all of the time. If your opponent's anti-Lead defense is lacking, you can send grouped leads to block Overdrive shots while layering something else underneath it. If your opponent's anti-Lead defenses are weak to purples, layer grouped lead+purple to overwhelm them. Otherwise massed bloon rushes generally don't work against an Overdrive with some support.
Players who insist on accumulating AMD buffs onto Tack Shooters may be trying to fight against DDTs. Against this, find a way to force these Tack Shooters to attack, or just send more than one DDT over longer time so that AMD won't easily replenish. If their AMD Overdrive count isn't too high, Fortified DDTs may get through as well.
Overdrive with Berserker Brew is a powerful synergy, which when combined causes a lot more damage. There is downtime between, so try take advantage of this.
An Overdrive with Berserker Brew is almost surely set until grouped blimps become available to send; try building up income until then.
Spaced DDT's will overwhelm Overdrives that are overly reliant on Brew, as sending three or more will guarantee that at least one will reach their Overdrives while Brew is on a 5s cooldown.
Most higher-level players will opt to adding debuff sources such as Cripple MOAB to cause affected blimps to take extreme damage from both Overdrives and Tack Zone. Identify that type of debuff and act accordingly against the type of debuff.
Try sending more than one blimp at a time. Two of an un-Fortified blimp is often better than one of a single Fortified blimp; the generally low pierce of Tack Shooters makes them suseptible to densely packed rushes.
Other Advice[]
If you see the opponent's Tack Shooters having their respective unique cosmetics, especially the "Tack Monkey" idle animation, the opponent has unlocked all upgrades for Tack. In that case, prepare for all possible upgrades.


